How to Make a Pair of DIY Glasses to View the Solar Eclipse
Credit to Author: Jacob Dubé| Date: Wed, 16 Aug 2017 17:01:39 +0000
On Monday, a total solar eclipse will be visible in North America, with darkness levels ranging from “barely a difference” to “demons have blocked out the Sun oh god.” It only happens once every couple years—and eclipses can often only be seen from remote parts of the world—so it’s reasonable to expect a lot of people will want to get a glimpse of this one. The path of totality will cut right across the continental US, but it will also be partially viewable as far north as Canada: In Toronto, 70 percent of the Sun will be blocked out.
What most of us forget in all this excitement is, even with the Moon blocking a lot of the light, if you want to see the eclipse you’ll still be trying to stare into the Sun. Like, the giant ball of gas that’s burning at 15 million ℃. Paul Delaney, physics and astronomy professor at York University in Toronto, said that there’s no special danger of looking at an eclipse specifically, just the regular old danger of exposing your bare eyes to this solar intensity.
Read More: Inside the Thriving Subculture of Eclipse Chasers
“The Sun isn’t doing anything different as far as its danger level. It’s peoples’ perception that it is ‘safer’ that makes it more dangerous,” Delaney told me. “You never look at the Sun. Ever. Period. End of conversation.”
NASA recommends a bunch of fun (safe) ways to watch an eclipse, like creating a pinhole camera to watch it indirectly, or using a solar eclipse and Sun viewer. But nothing beats the classic feel of solar glasses. Here’s how to make a pair.
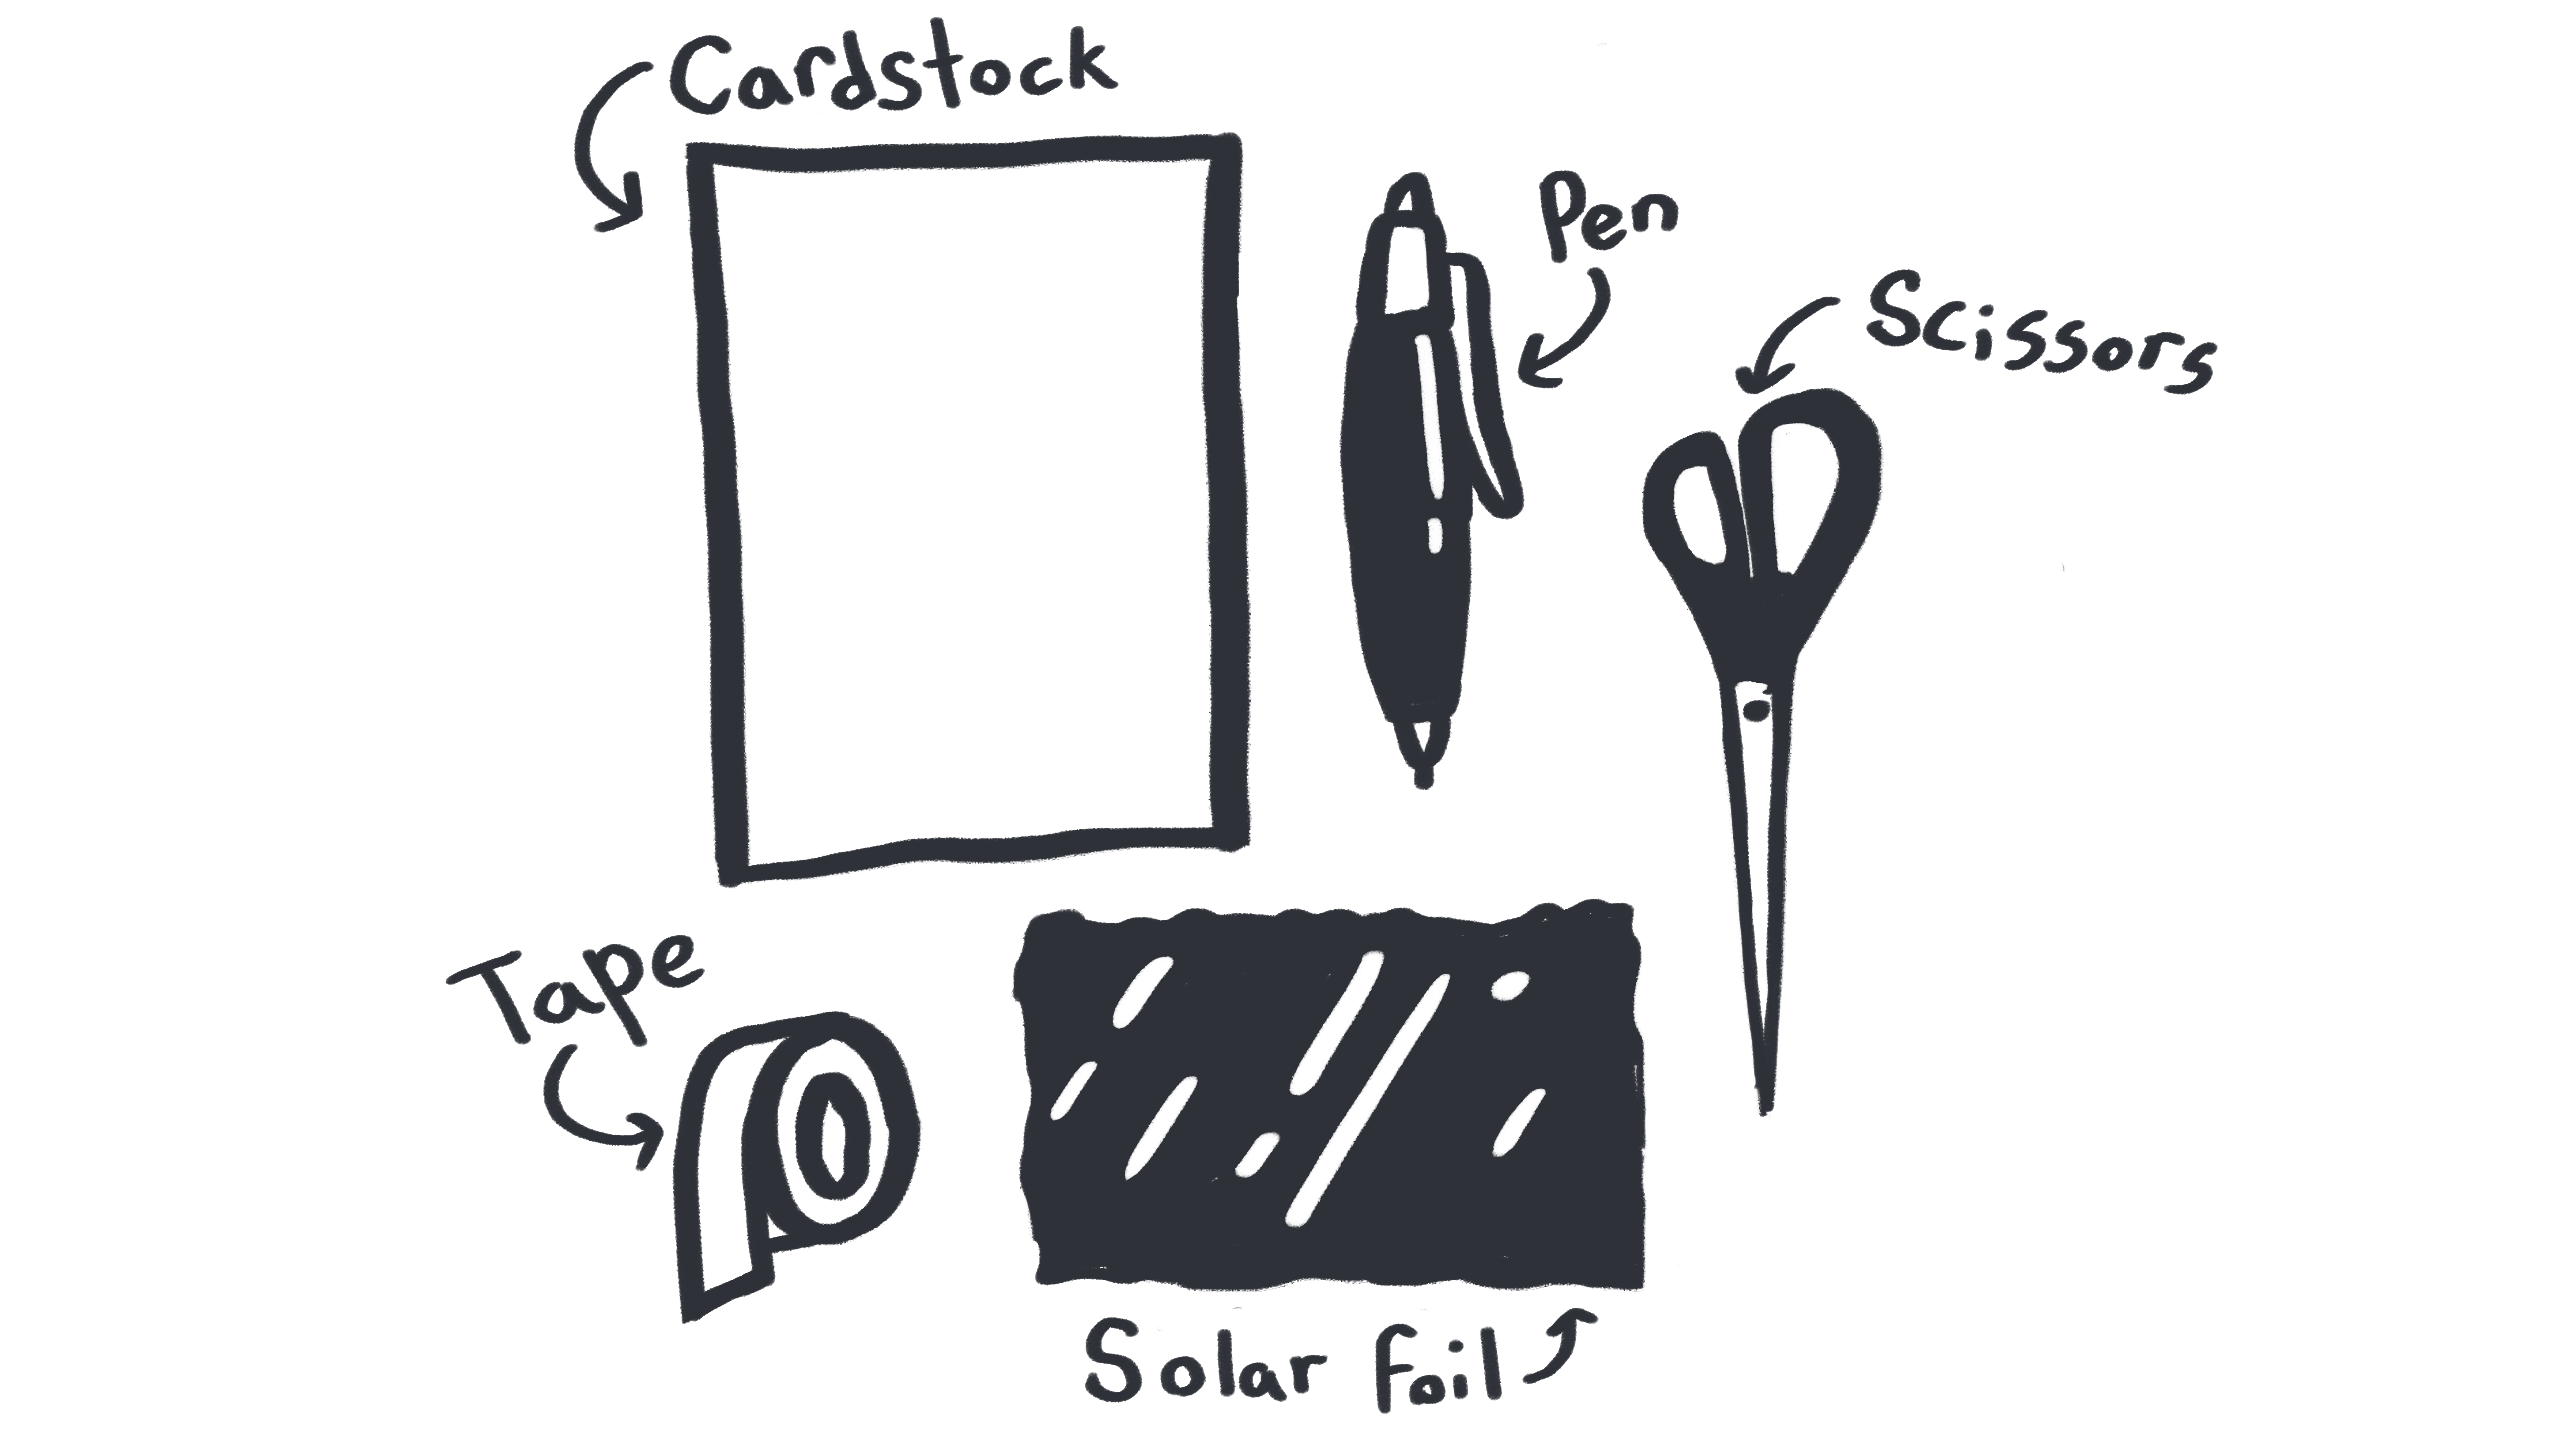
Step 1. Gather your materials
The most important component of a pair of solar glasses is the lenses. Recently, people have been sold fake solar glasses online, so Delaney recommends finding Number 14 Welder’s Glass or mylar, which can be “easily be cut with scissors and adapted to any kind of box or viewing device,” according to a NASA page on safe eclipse viewing. NASA warns that no filter is safe to use with an optical device, like a telescope and binoculars, unless it’s specifically designed for that.
When picking your lens material, it’s important to use brands that meet the International Organization for Standardization’s requirements, which can be found in hardware or camera stores. (They should be verified to be compliant with the ISO 12312-2 safety standard.) To make sure they’re functional, you shouldn’t be able to see anything through them, except for a weak image of the Sun, Delaney said.
“Look at the sky, you should see absolutely nothing. If you can see anything through your solar glasses, with the exception of the Sun, then throw them away,” he said.
Then, get yourself a large piece of cardstock (or posterboard), tape, a pen, and a pair of scissors. Now you’re ready for step two.
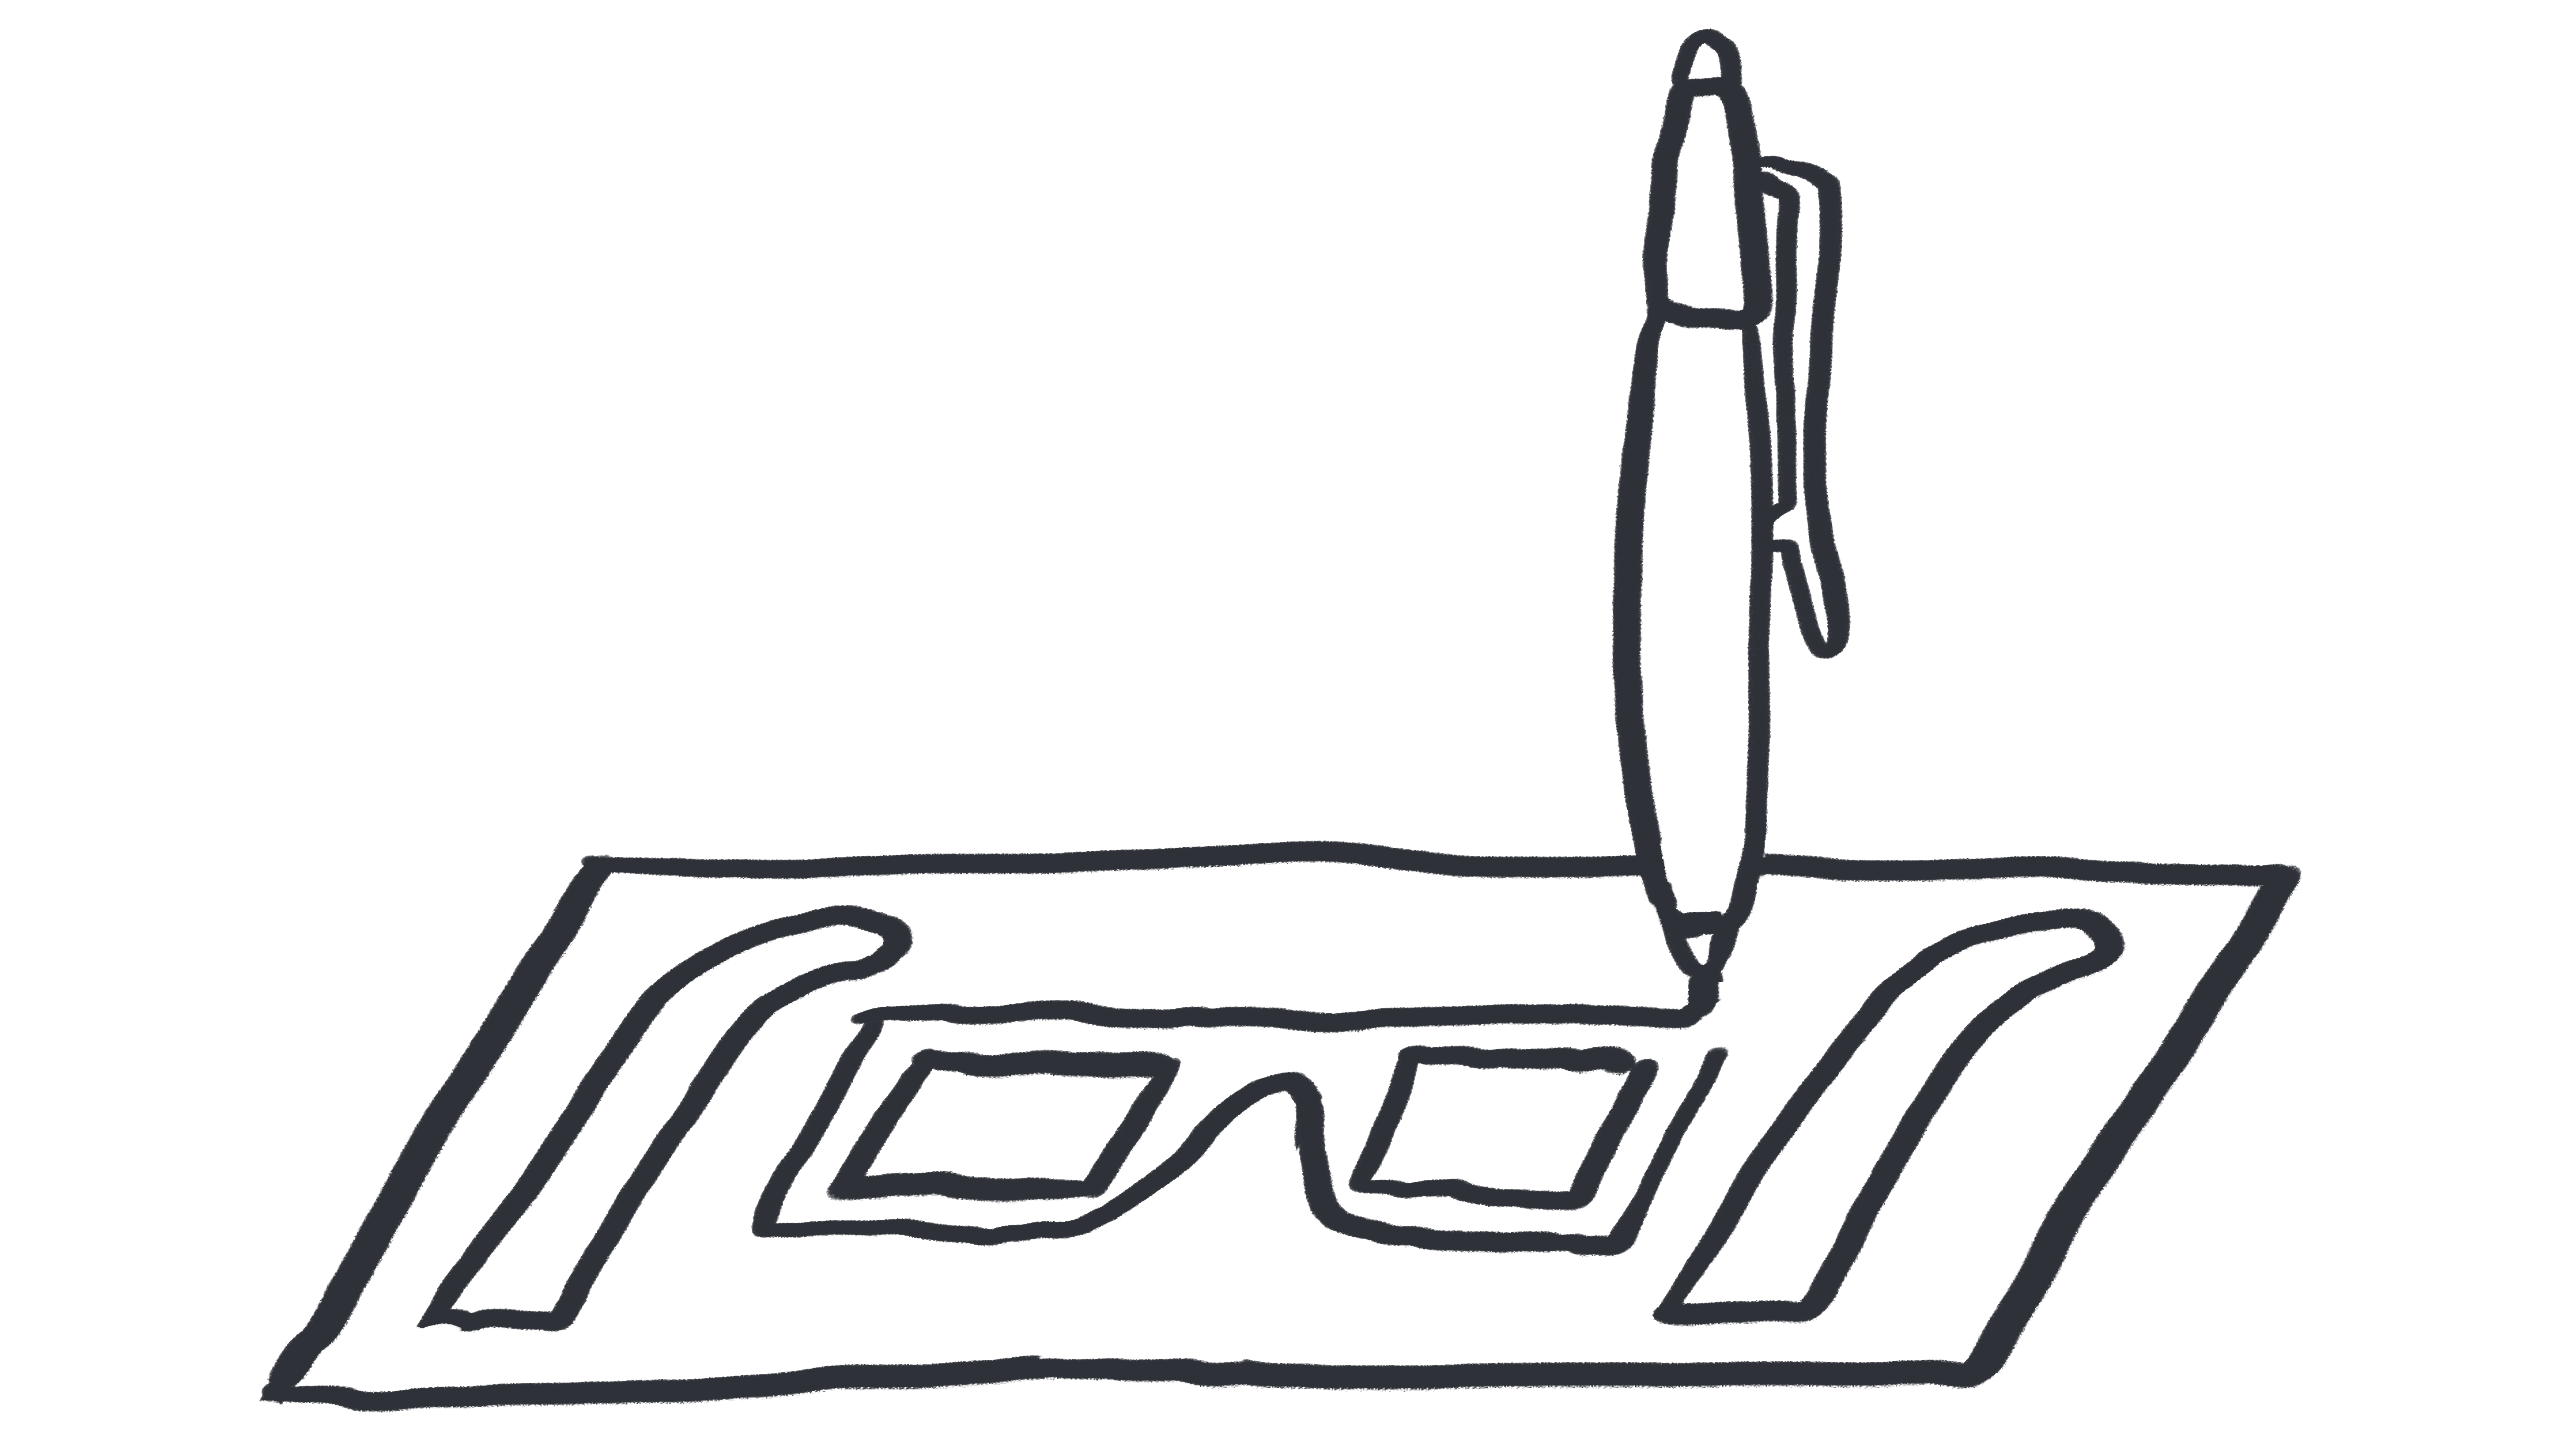
Step 2. Make an outline of your glasses
Using the pen on the cardstock, draw an outline of the two temples—also known as ear handlebars—and the main area for your lenses. You can make a nice and simple outline, or you can go crazy and add flames or a big “2018” on the eyes to prepare for your next new year’s party.
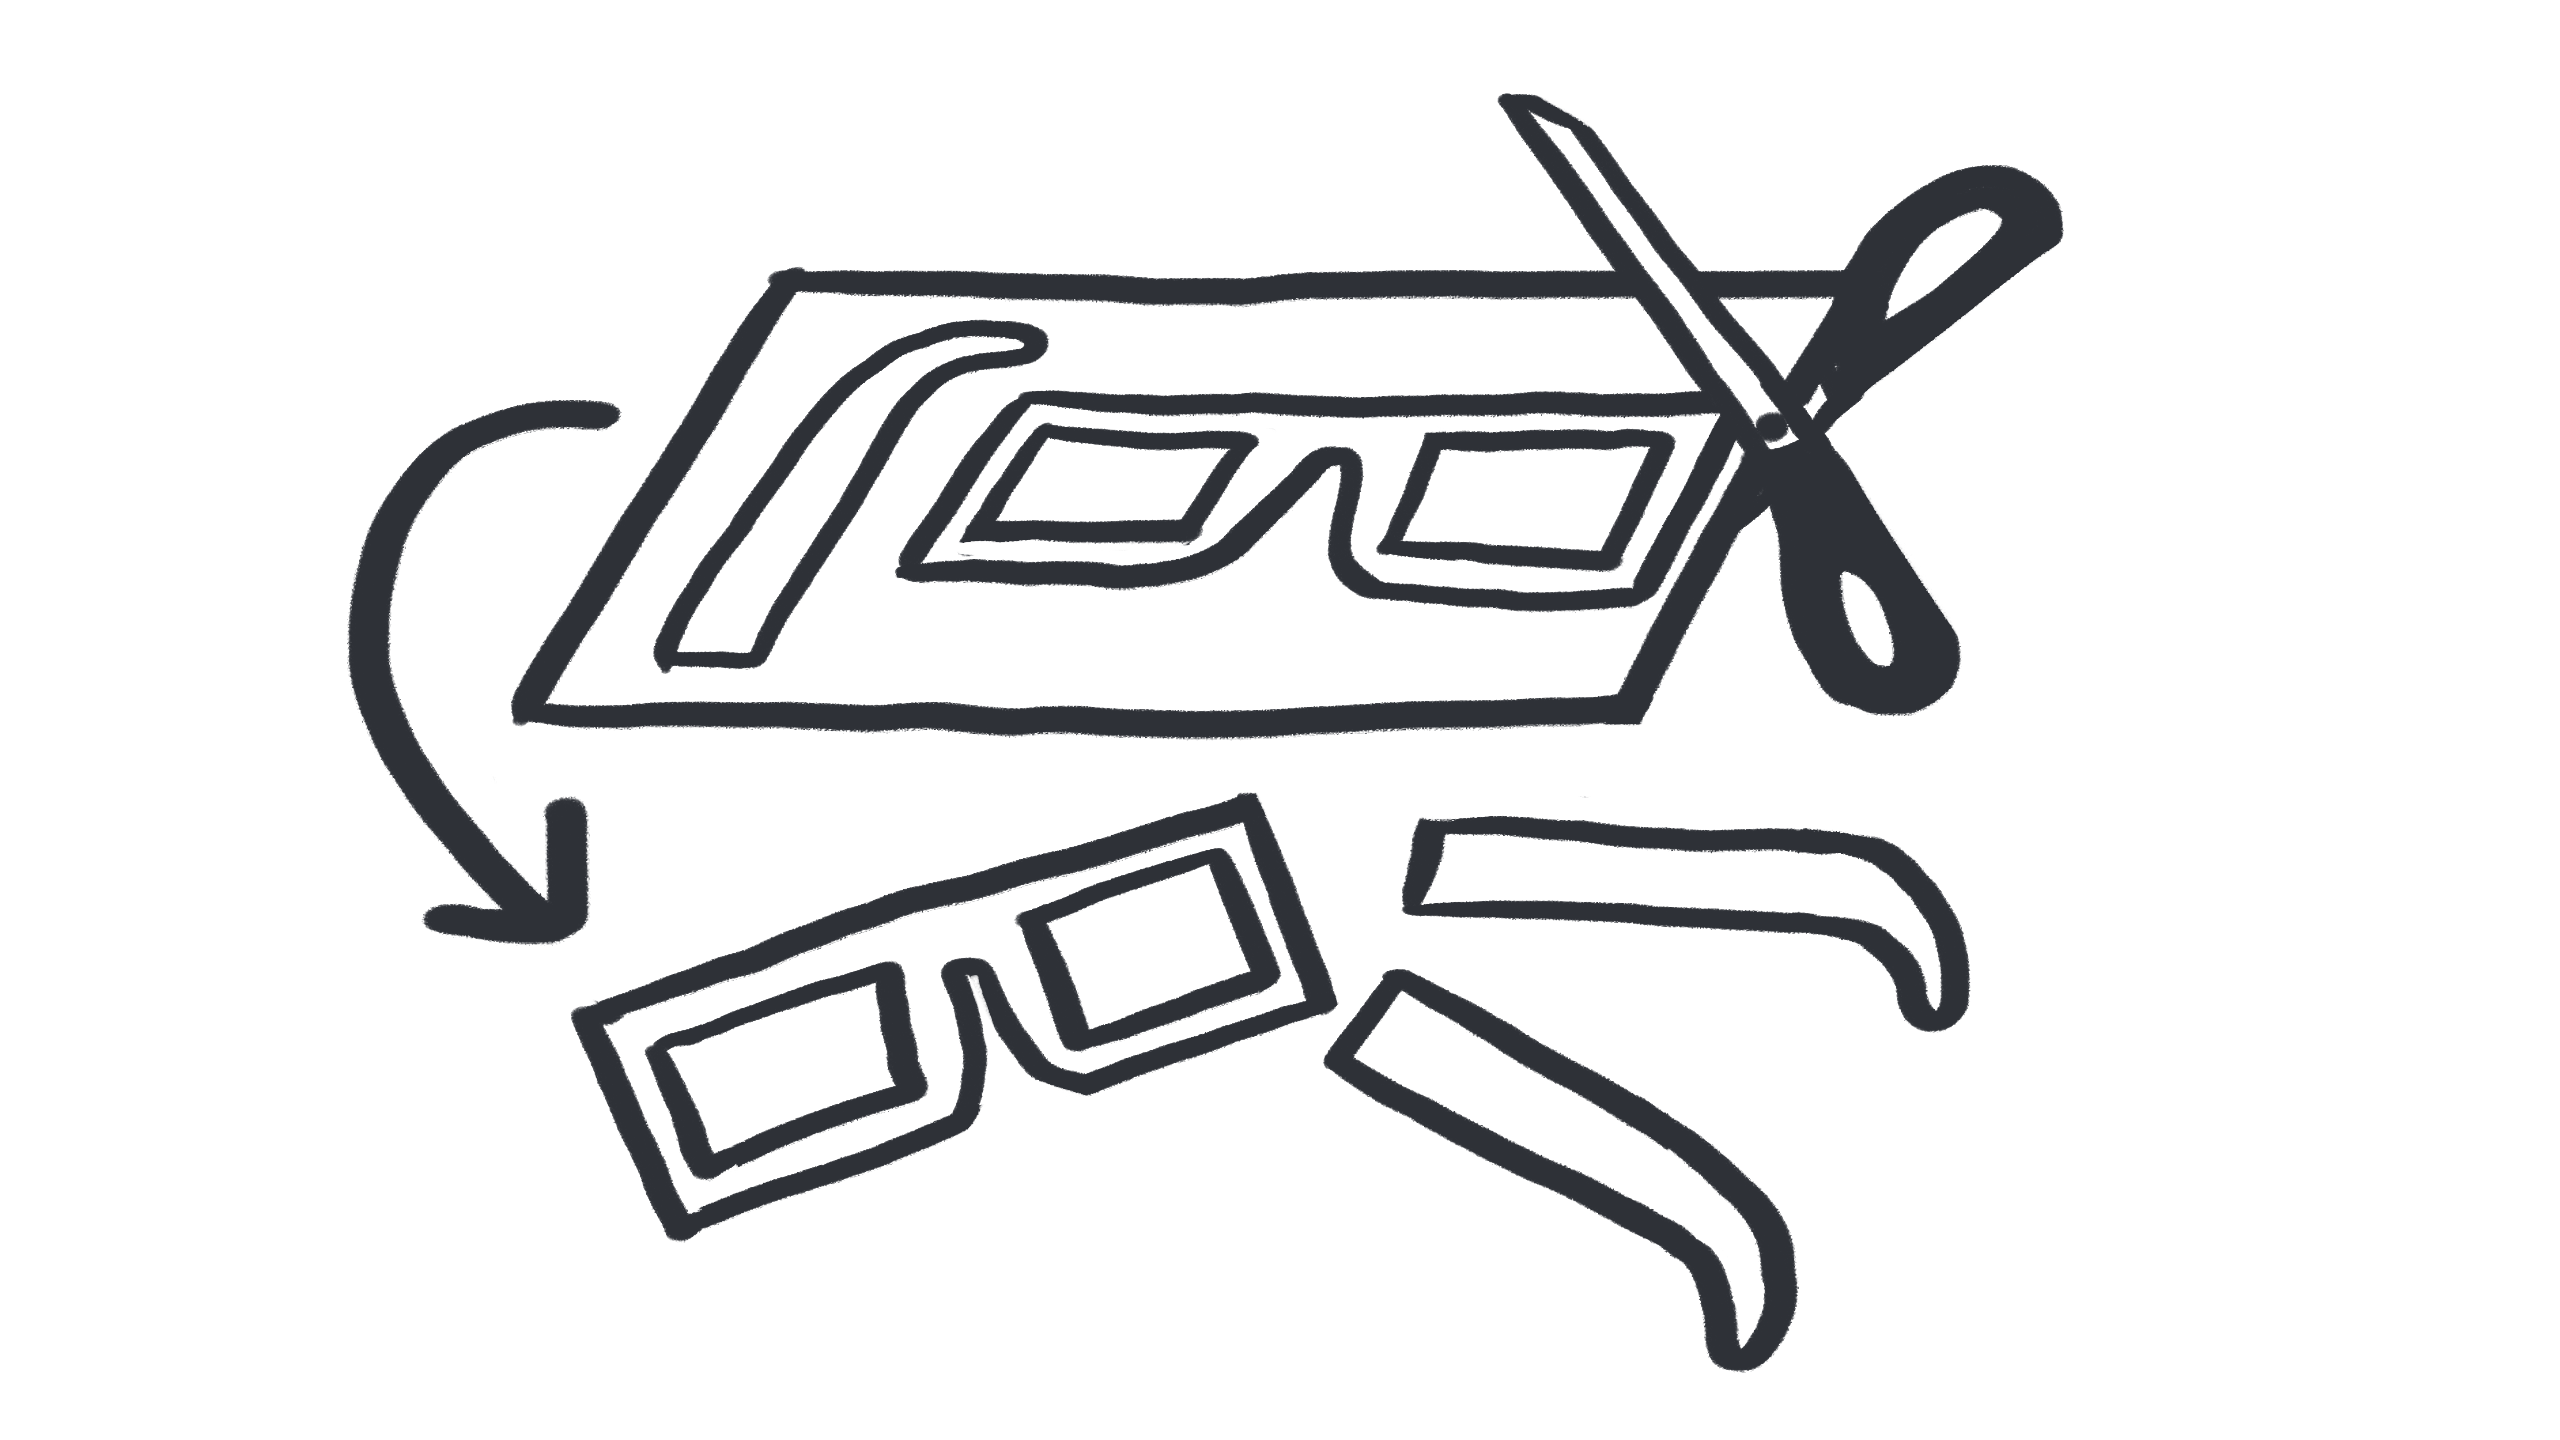
Step 3. Cut out your outline
I mean…yeah. Do that.
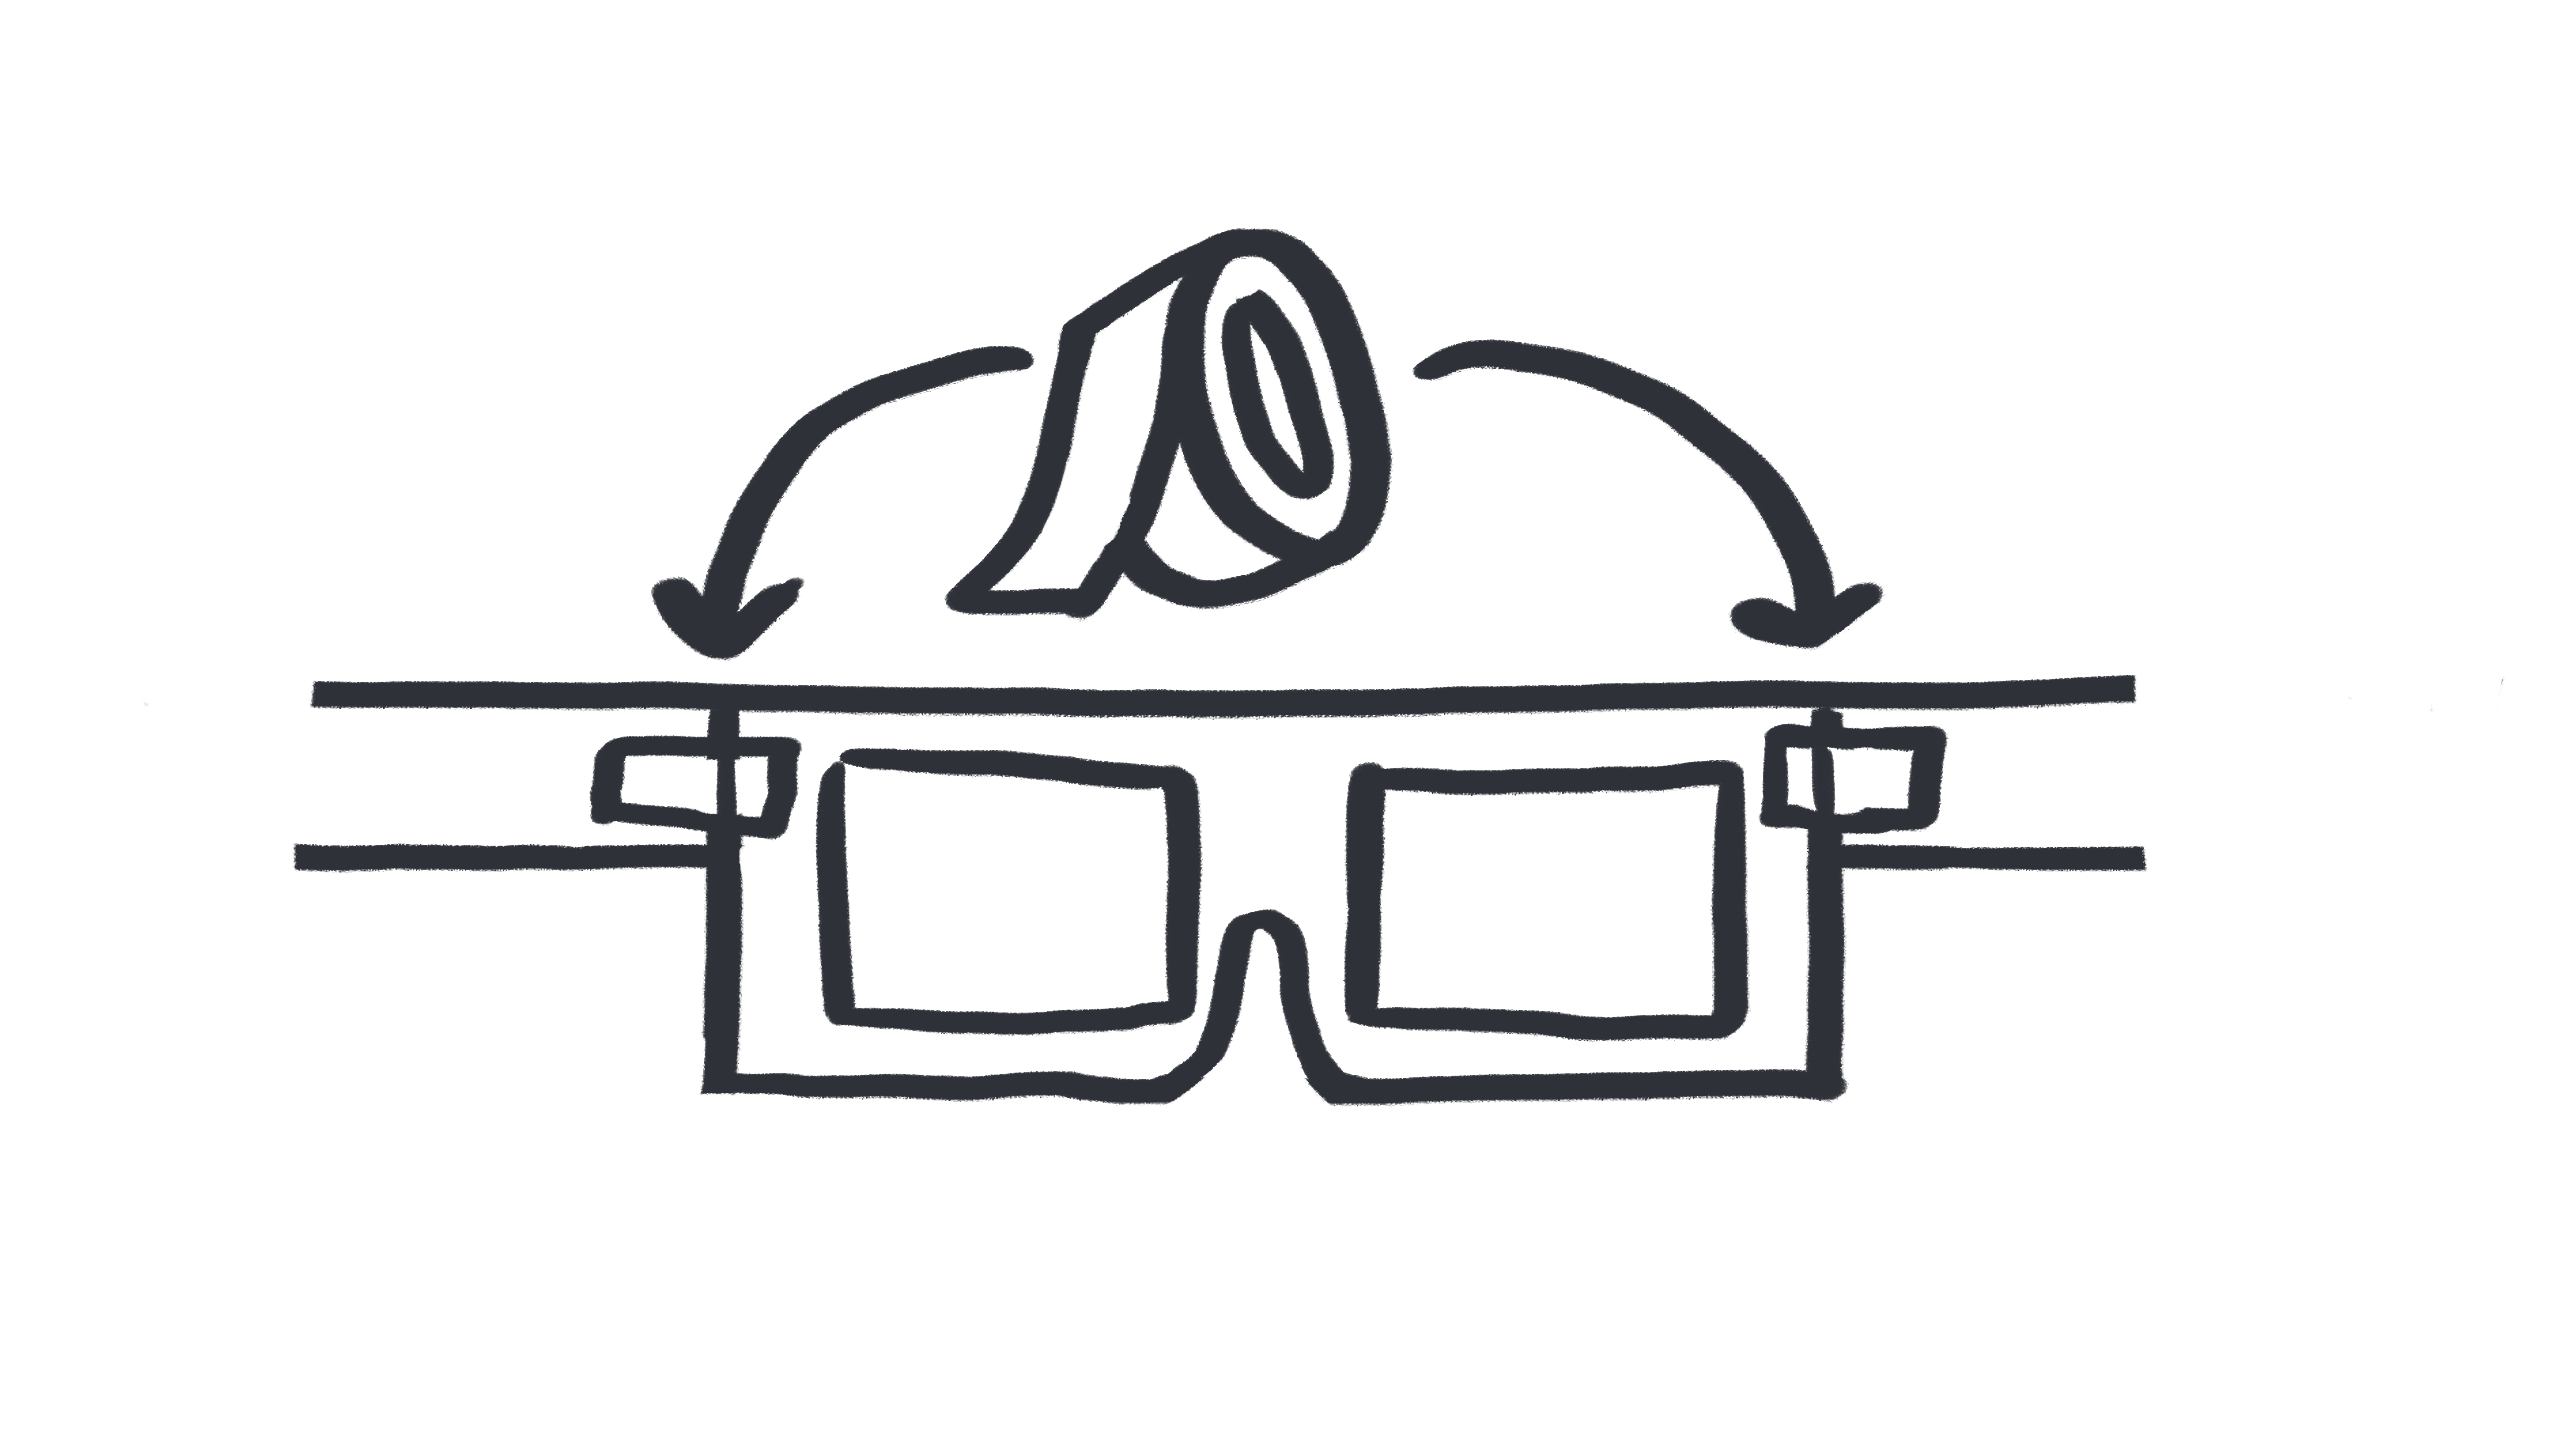
Step 4. Tape your pieces together
I’m really running out of things to say here. Don’t get a papercut?
Step 5. Place your lenses on the frame
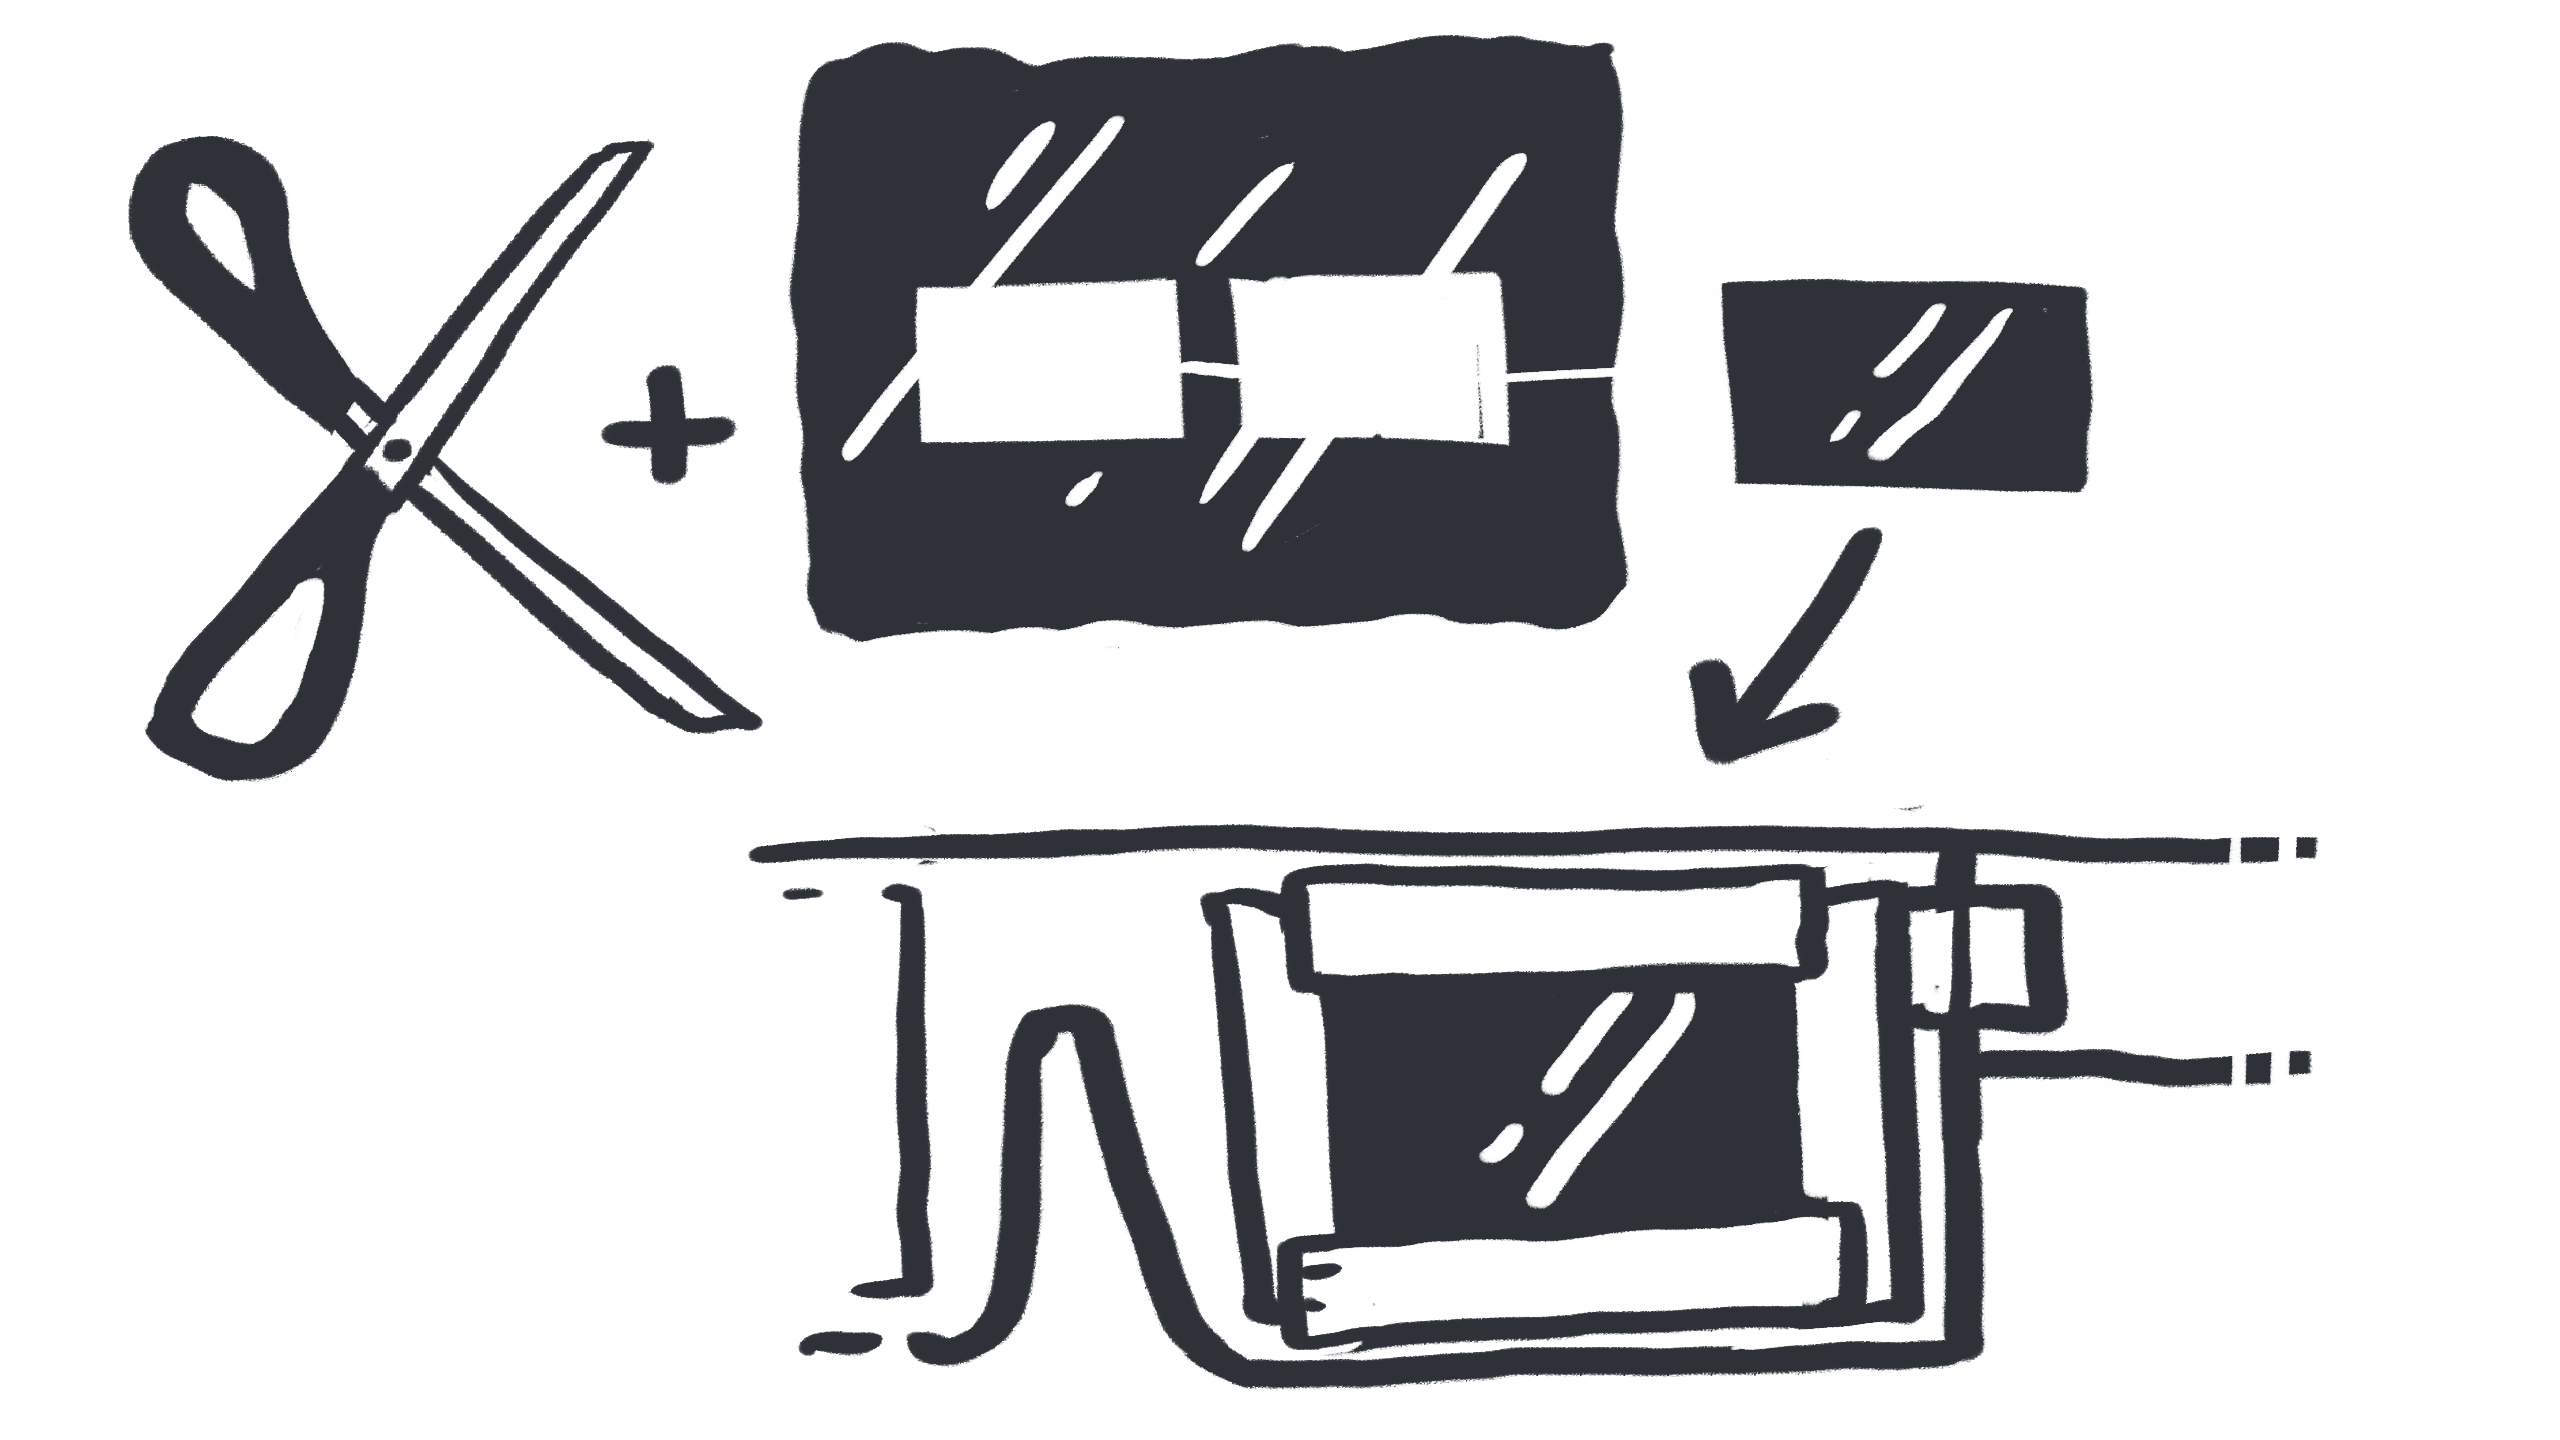
Cut out your lenses from the solar foil and tape them onto your frame. Make sure it’s comfortable and move your head around for a little bit and adjust as necessary.
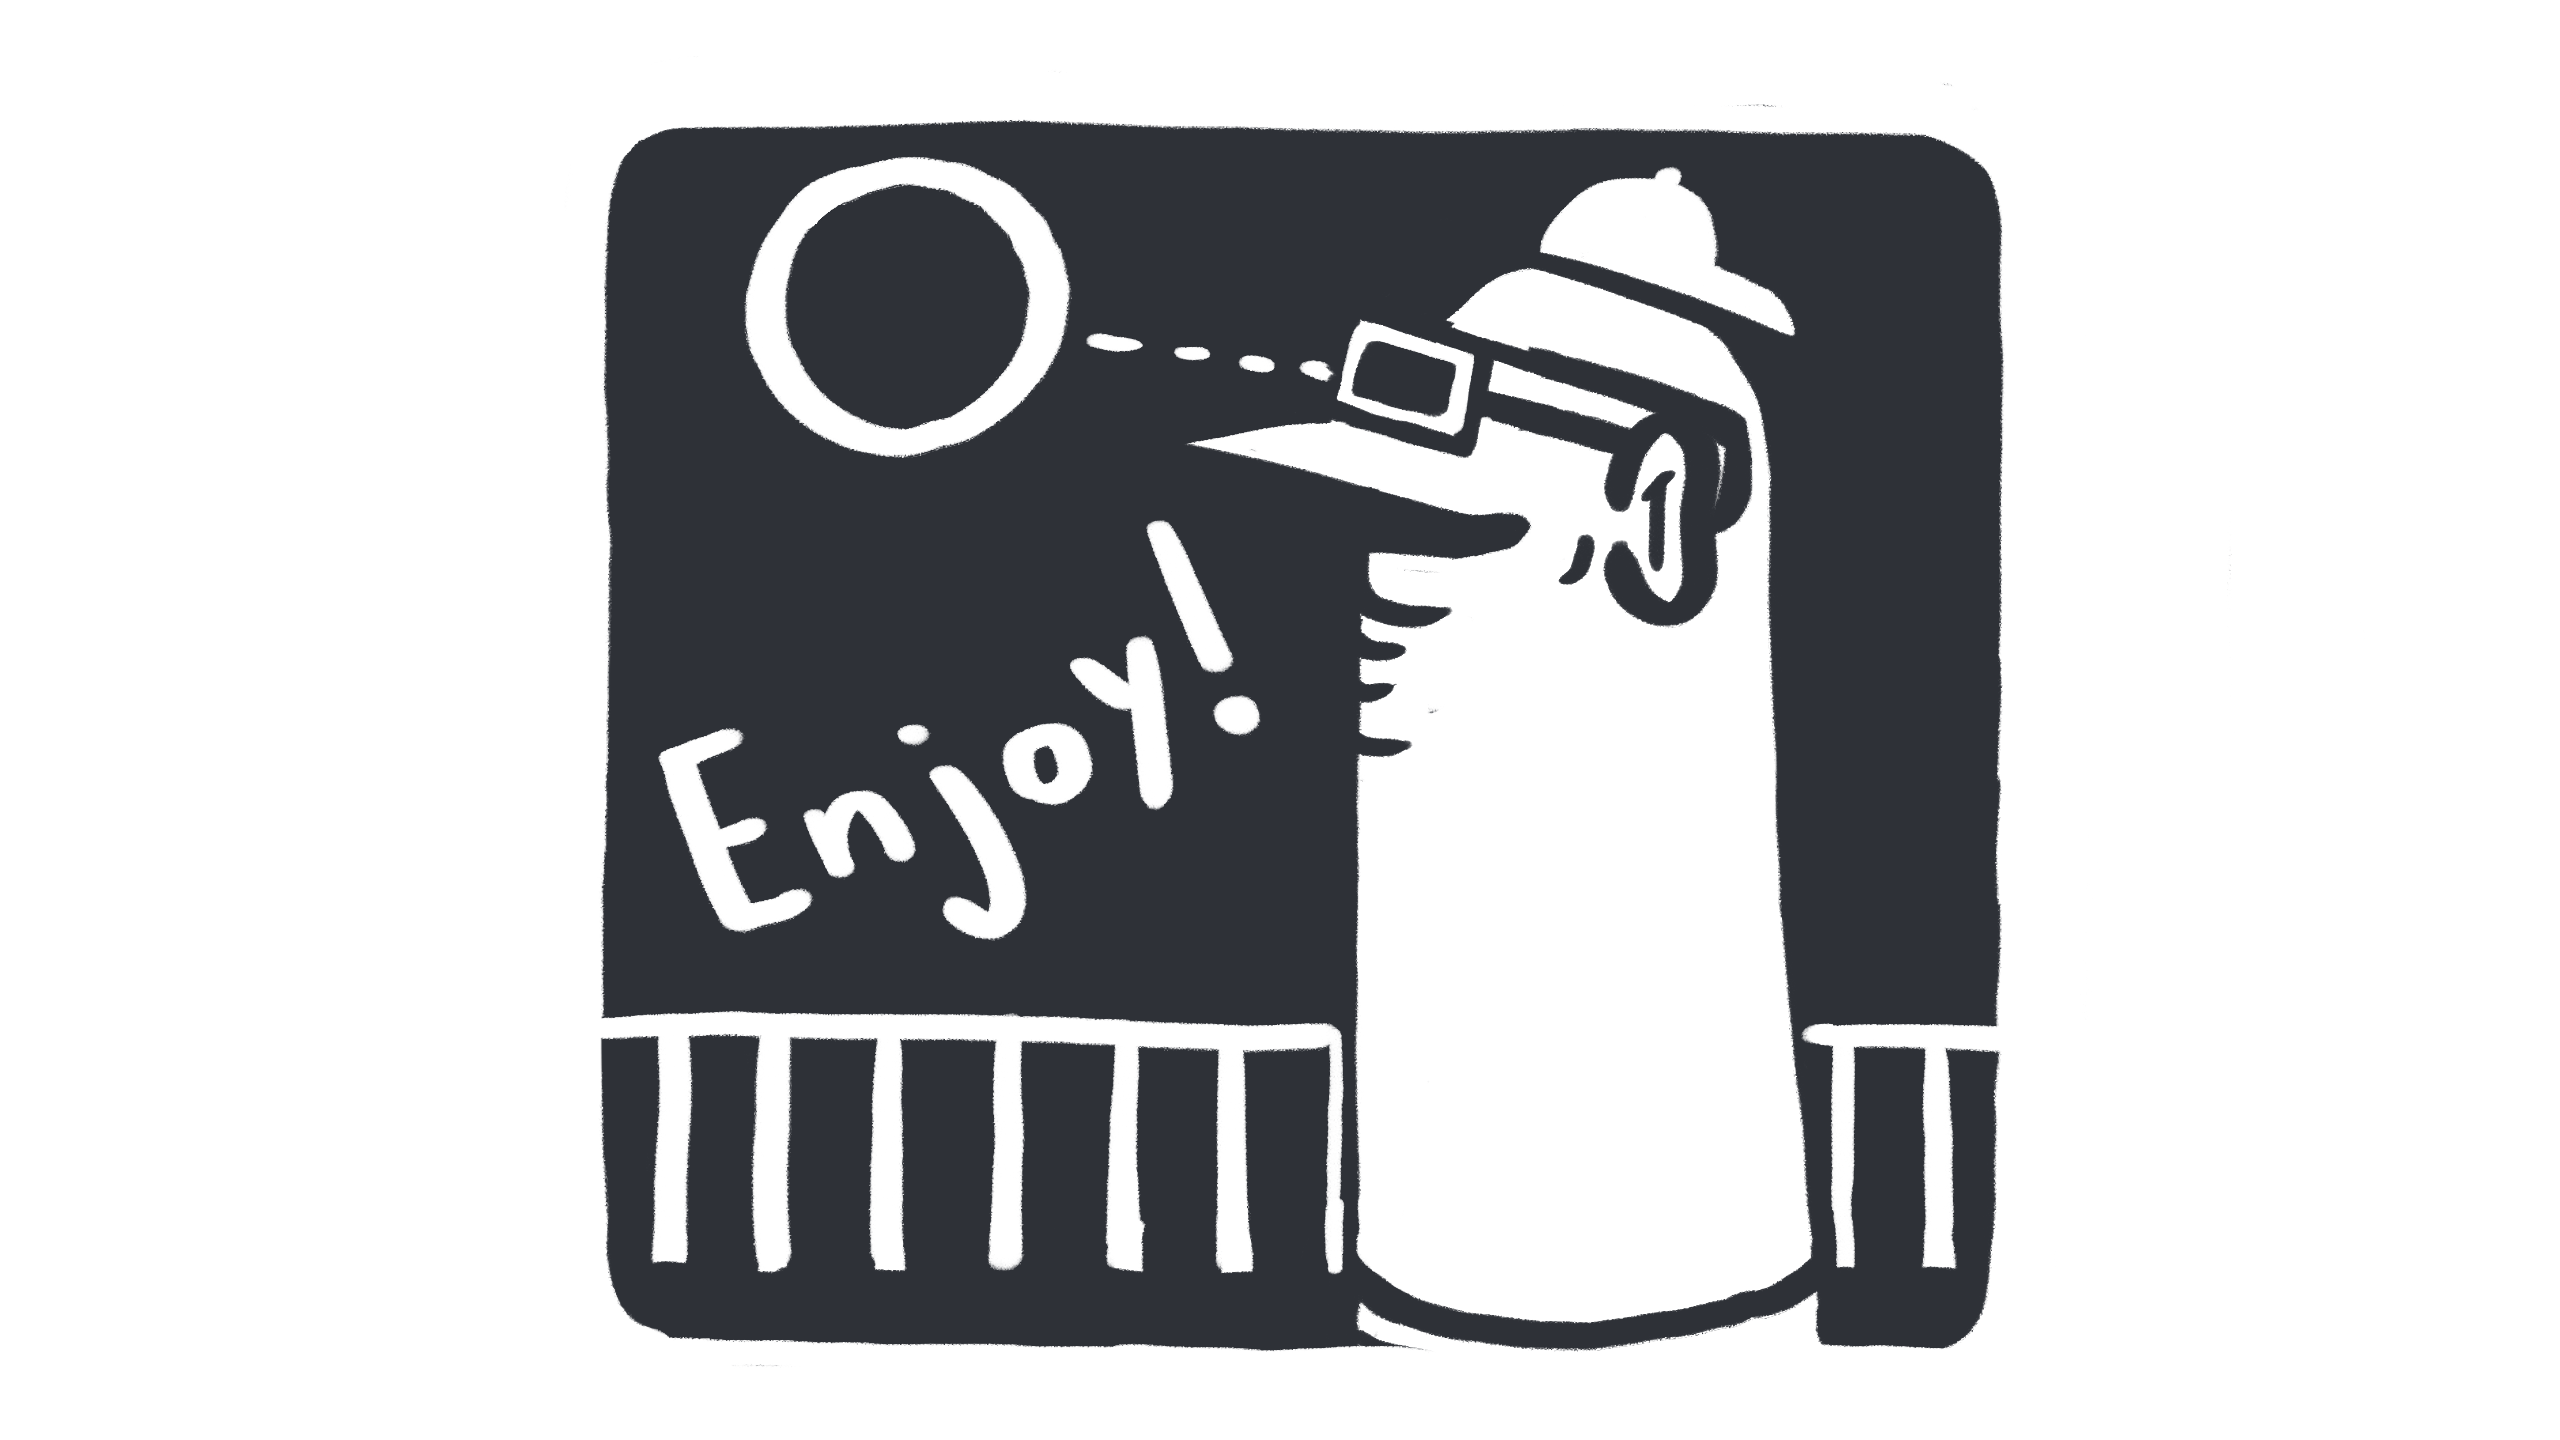
Step 6. STARE INTO THE SUN
Now you’re ready to enjoy a fun and unique astronomical experience without the fear of your retinas drying up into little crispy chips!
Get six of our favorite Motherboard stories every day by signing up for our newsletter.